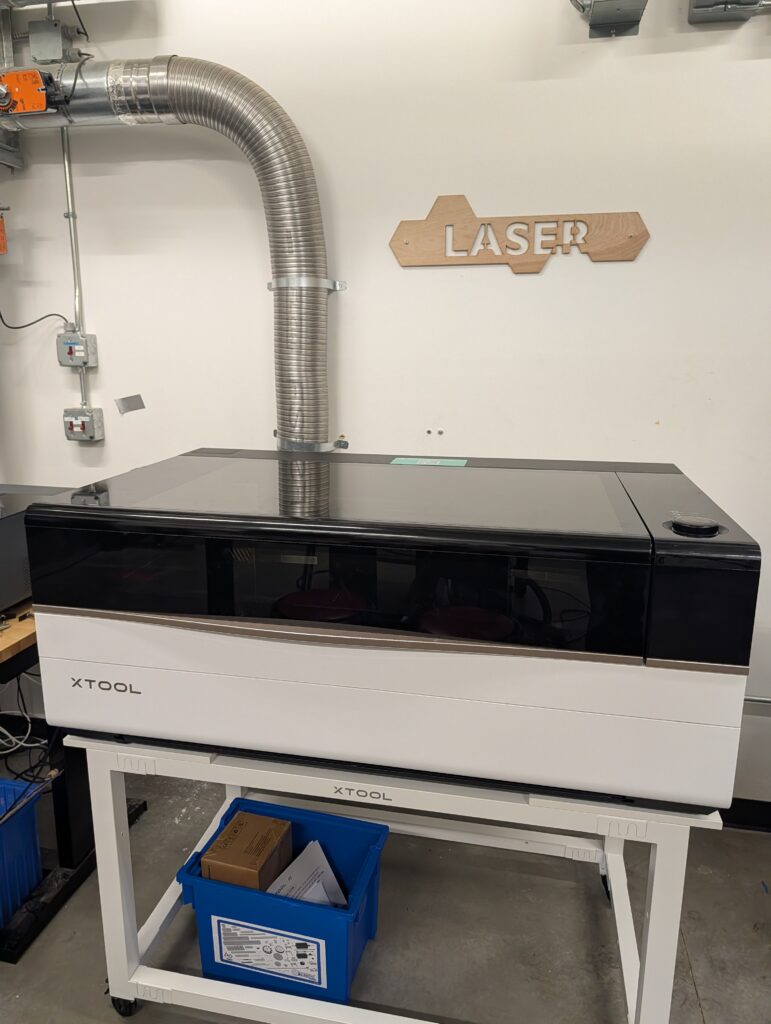
Laser Cutter - Beginner Credential Guide
Before you can start: you must pass the Beginner Laser Safety Quiz on Canvas first. You will not be cutting alone this time, Mr. AlJeshi will observe and also guide you every now and then, so don't stress about getting it perfect on the first try.
What You're Making
Your Beginner certification project is a keychain, using the design file provided here

What different operations and settings mean?
- Cut: the laser fires along a line, all the way through the material.
- Engrave: the laser scans back and forth across an area, like a printer, burning a shaded image or pattern into just the surface. This is usually the slowest part of a job because it covers an entire area rather than just outlines.
- Score: a single fast pass along a line, similar to a cut but at much lower power, so it leaves a shallow groove instead of cutting all the way through.
Power and speed work together. More power and slower speed means more concentrated energy. While low power and higher speed means less concentrated energy. When we try to figure out the settings for different materials we slowly change the power or speed up or down until we get the desired results.
Air assist blows air right at the point the laser is cutting. It clears smoke out of the beam's path so the cut stays clean, and it helps keep the material from catching on fire.
Starting Up the Machine
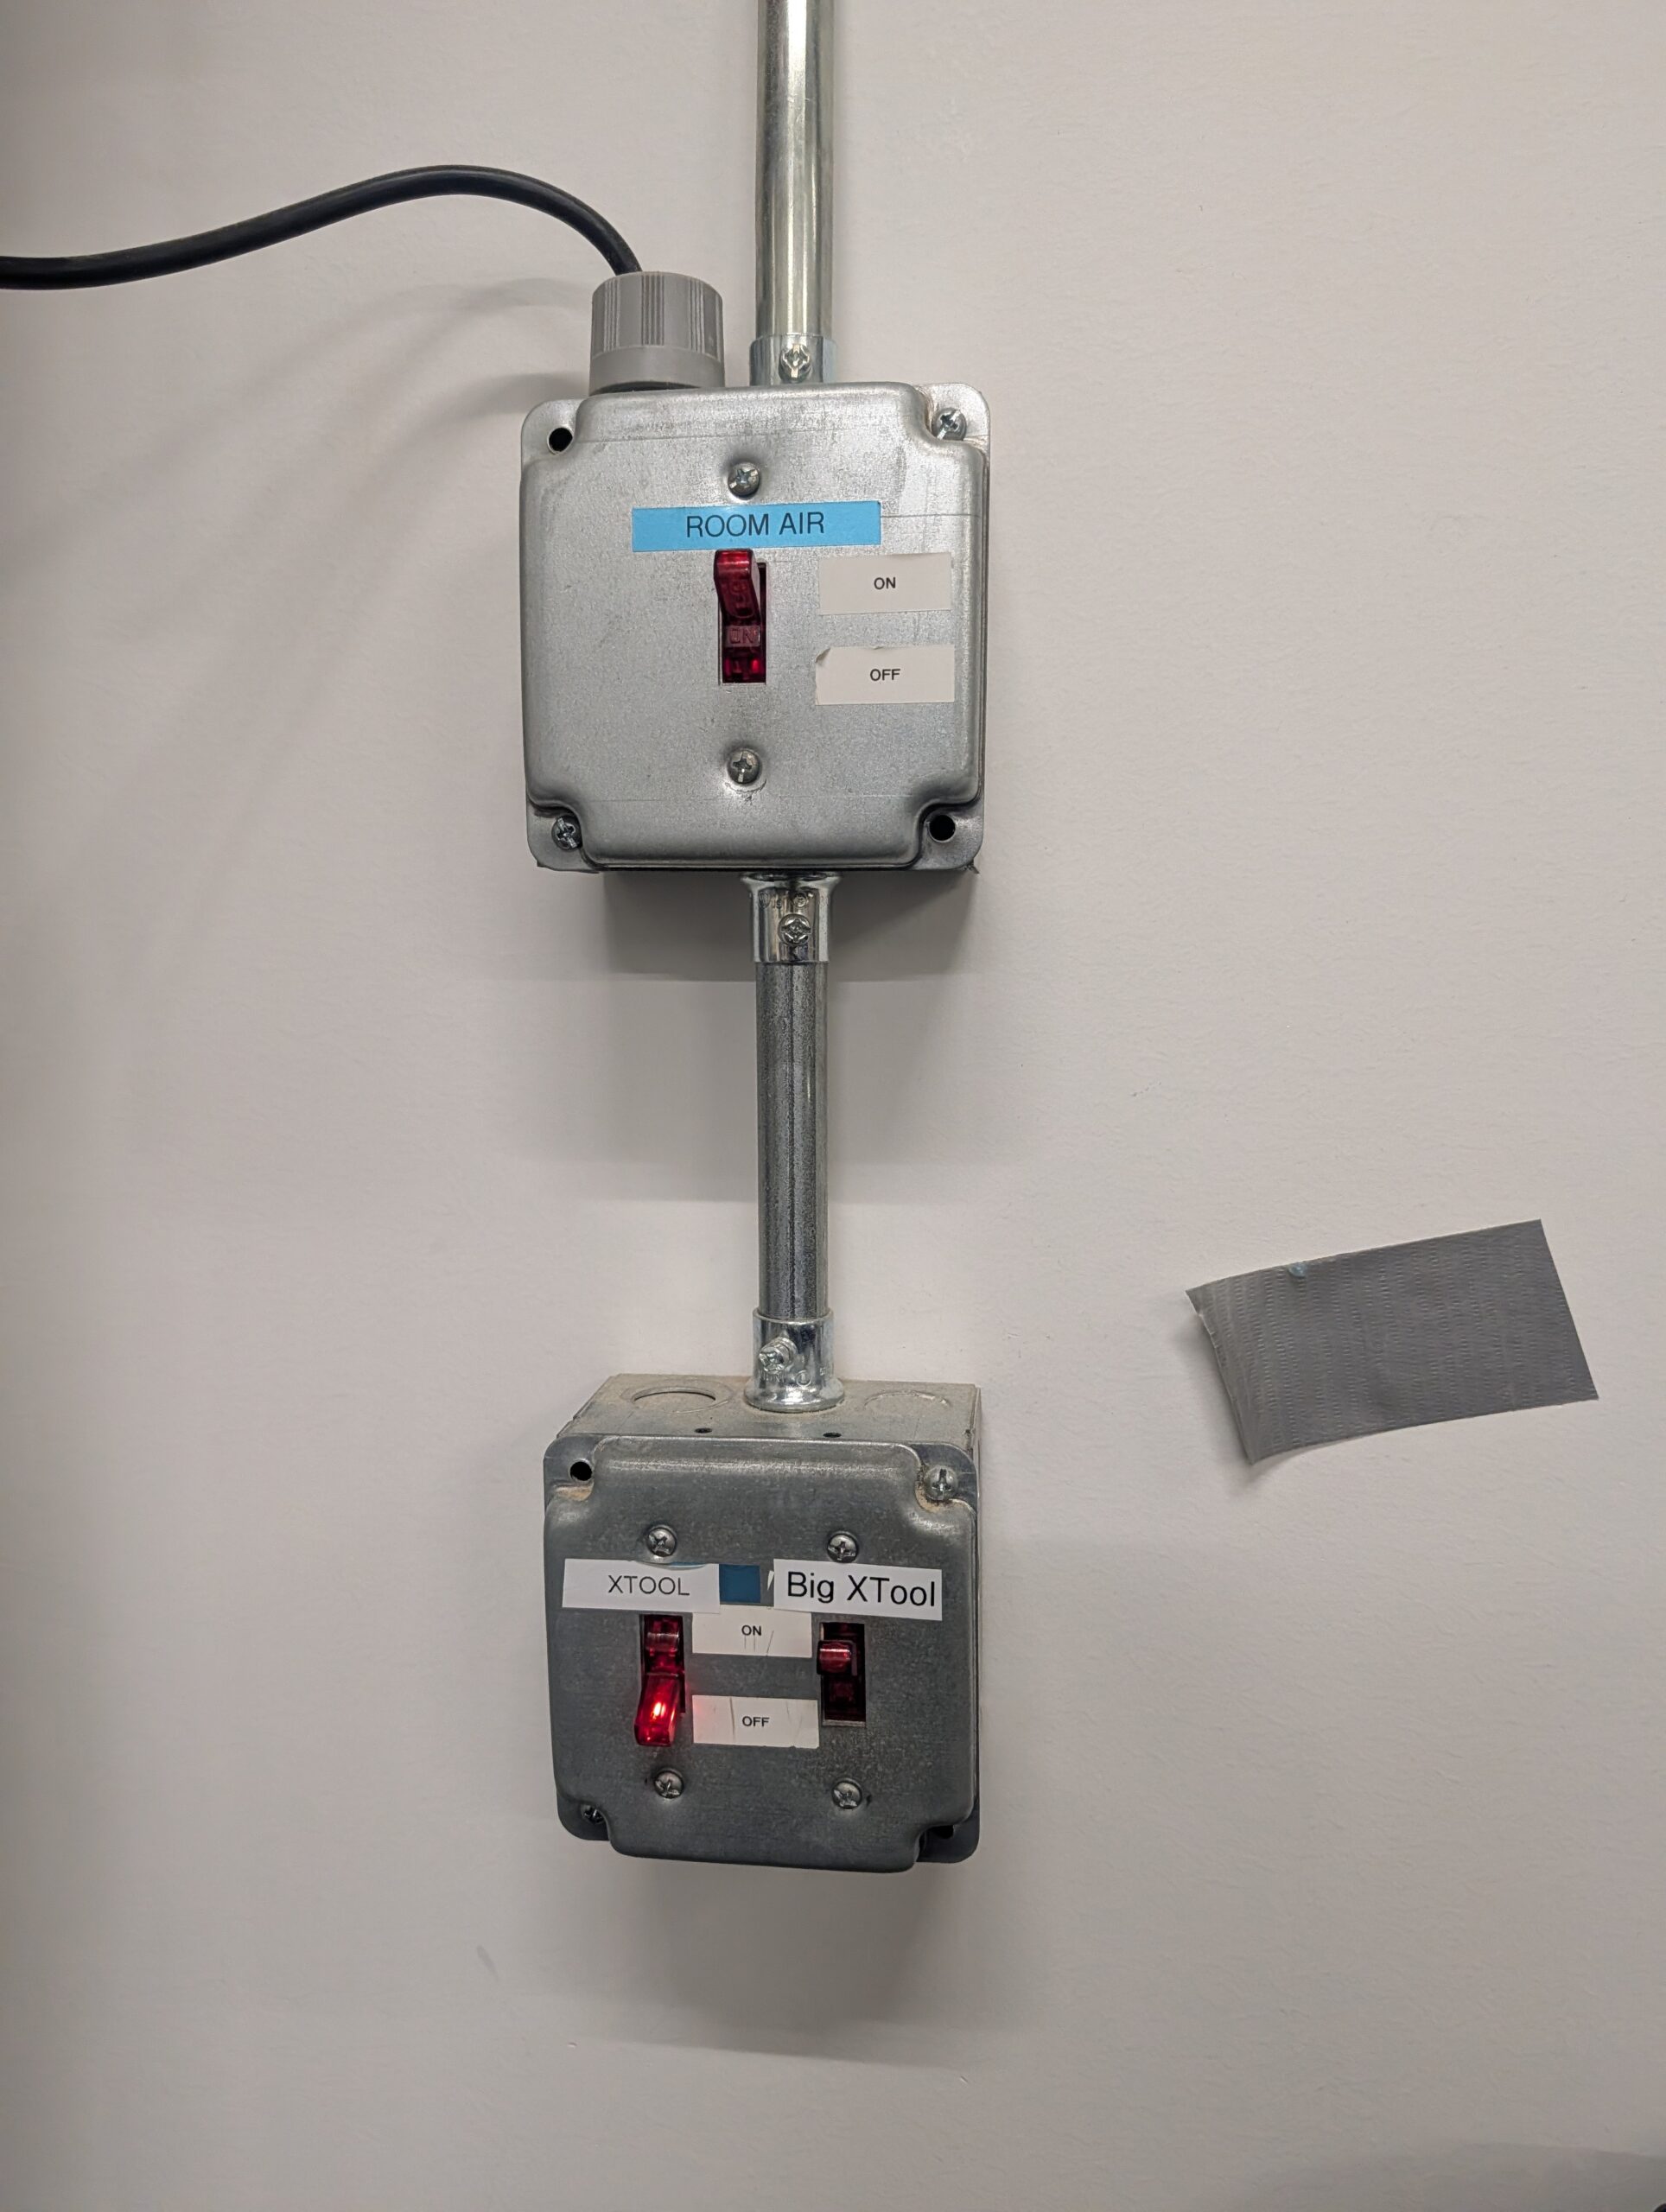
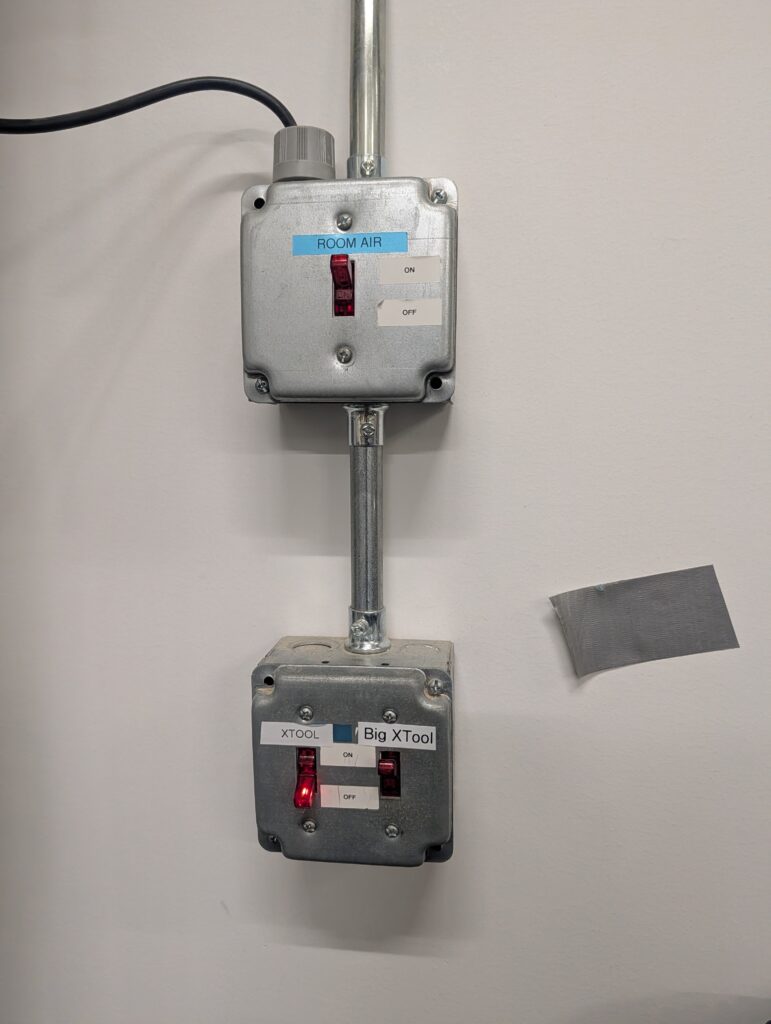
- On the wall panel to the left of the machine, turn on the "Big XTool" switch and the "Room Air" switch. These power the ventilation for the P3 and the room.
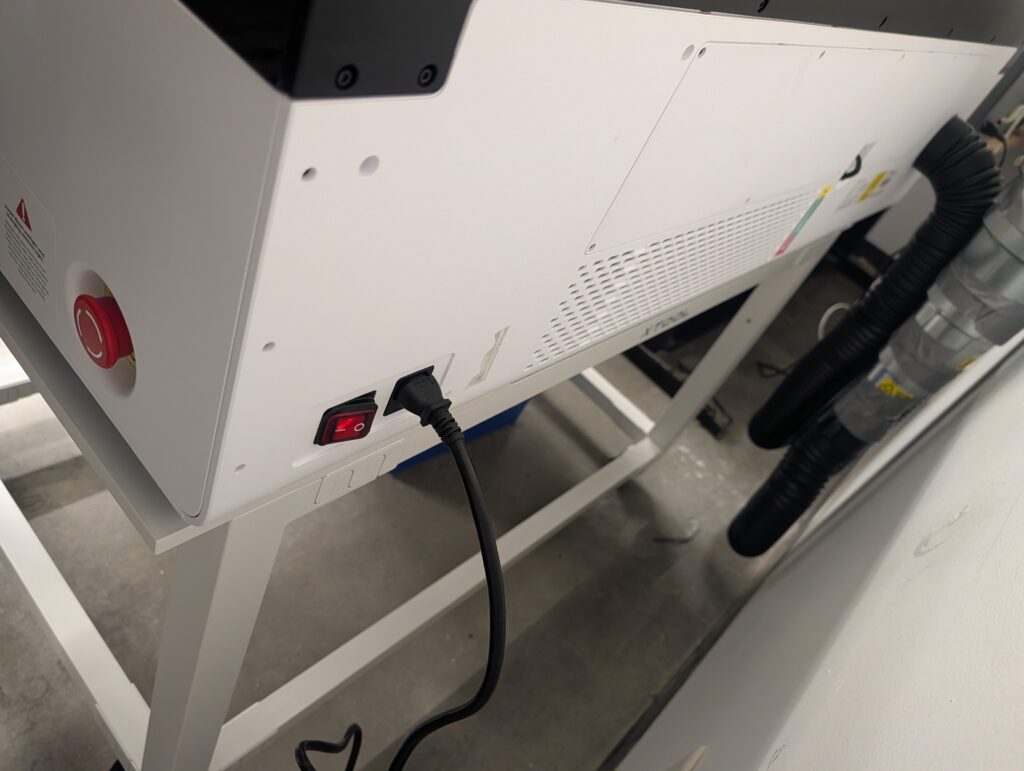
- Press the power button on the back of the machine itself to turn the P3 on.
Preparing Your File
- Open XTool Studio and import the keychain design file staff gives you, using the Import icon in the left toolbar
- Confirm the device selector shows xTool-P3.
- Select the material you're using from the table above (or the one staff points you to), and confirm the settings for each operation
- Position the design on the bed using the camera preview once you're connected to the machine.
Loading Material & Cutting
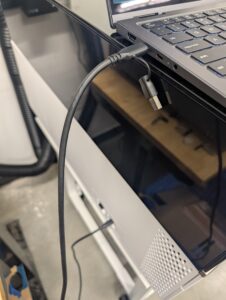
Connect to the P3 with the USB cable and confirm the device is connected

Open the lid all the way up and place your material on the bed, using the magnetic hold-down clips if needed so it doesn't shift.
Wait until the P3 captures a picture of the laser bed before closing the lid.
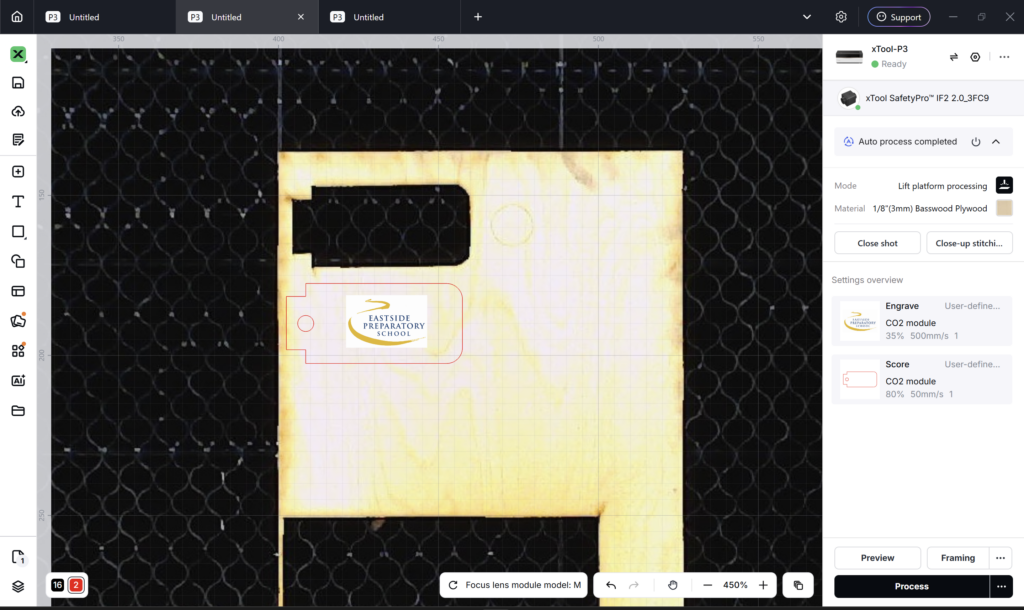
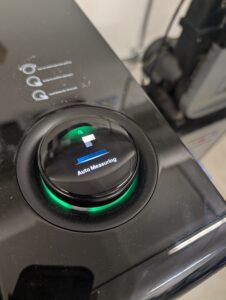
The P3 should auto-focus itself, detect the material as well as measure the thickness automatically.
On the right hand side of the XTool Studio software, you can specify the settings for the different operations of your design.
Before that however, we want to specify the material that we are using and in this case it is 3mm or 1/8" Basswood.
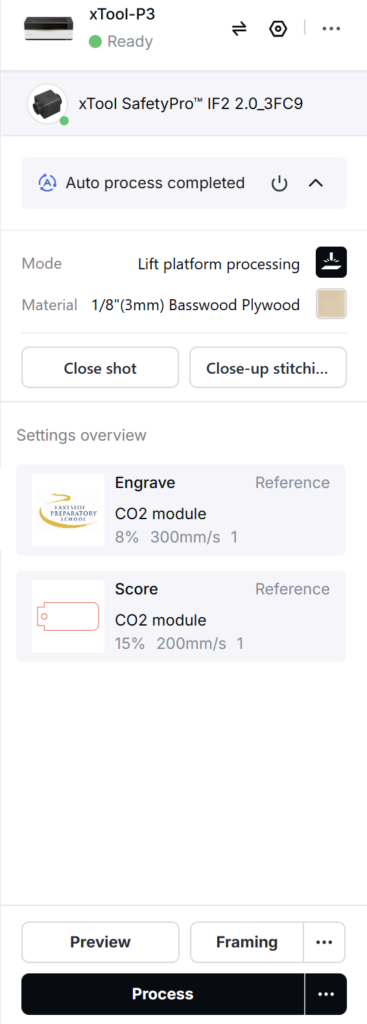
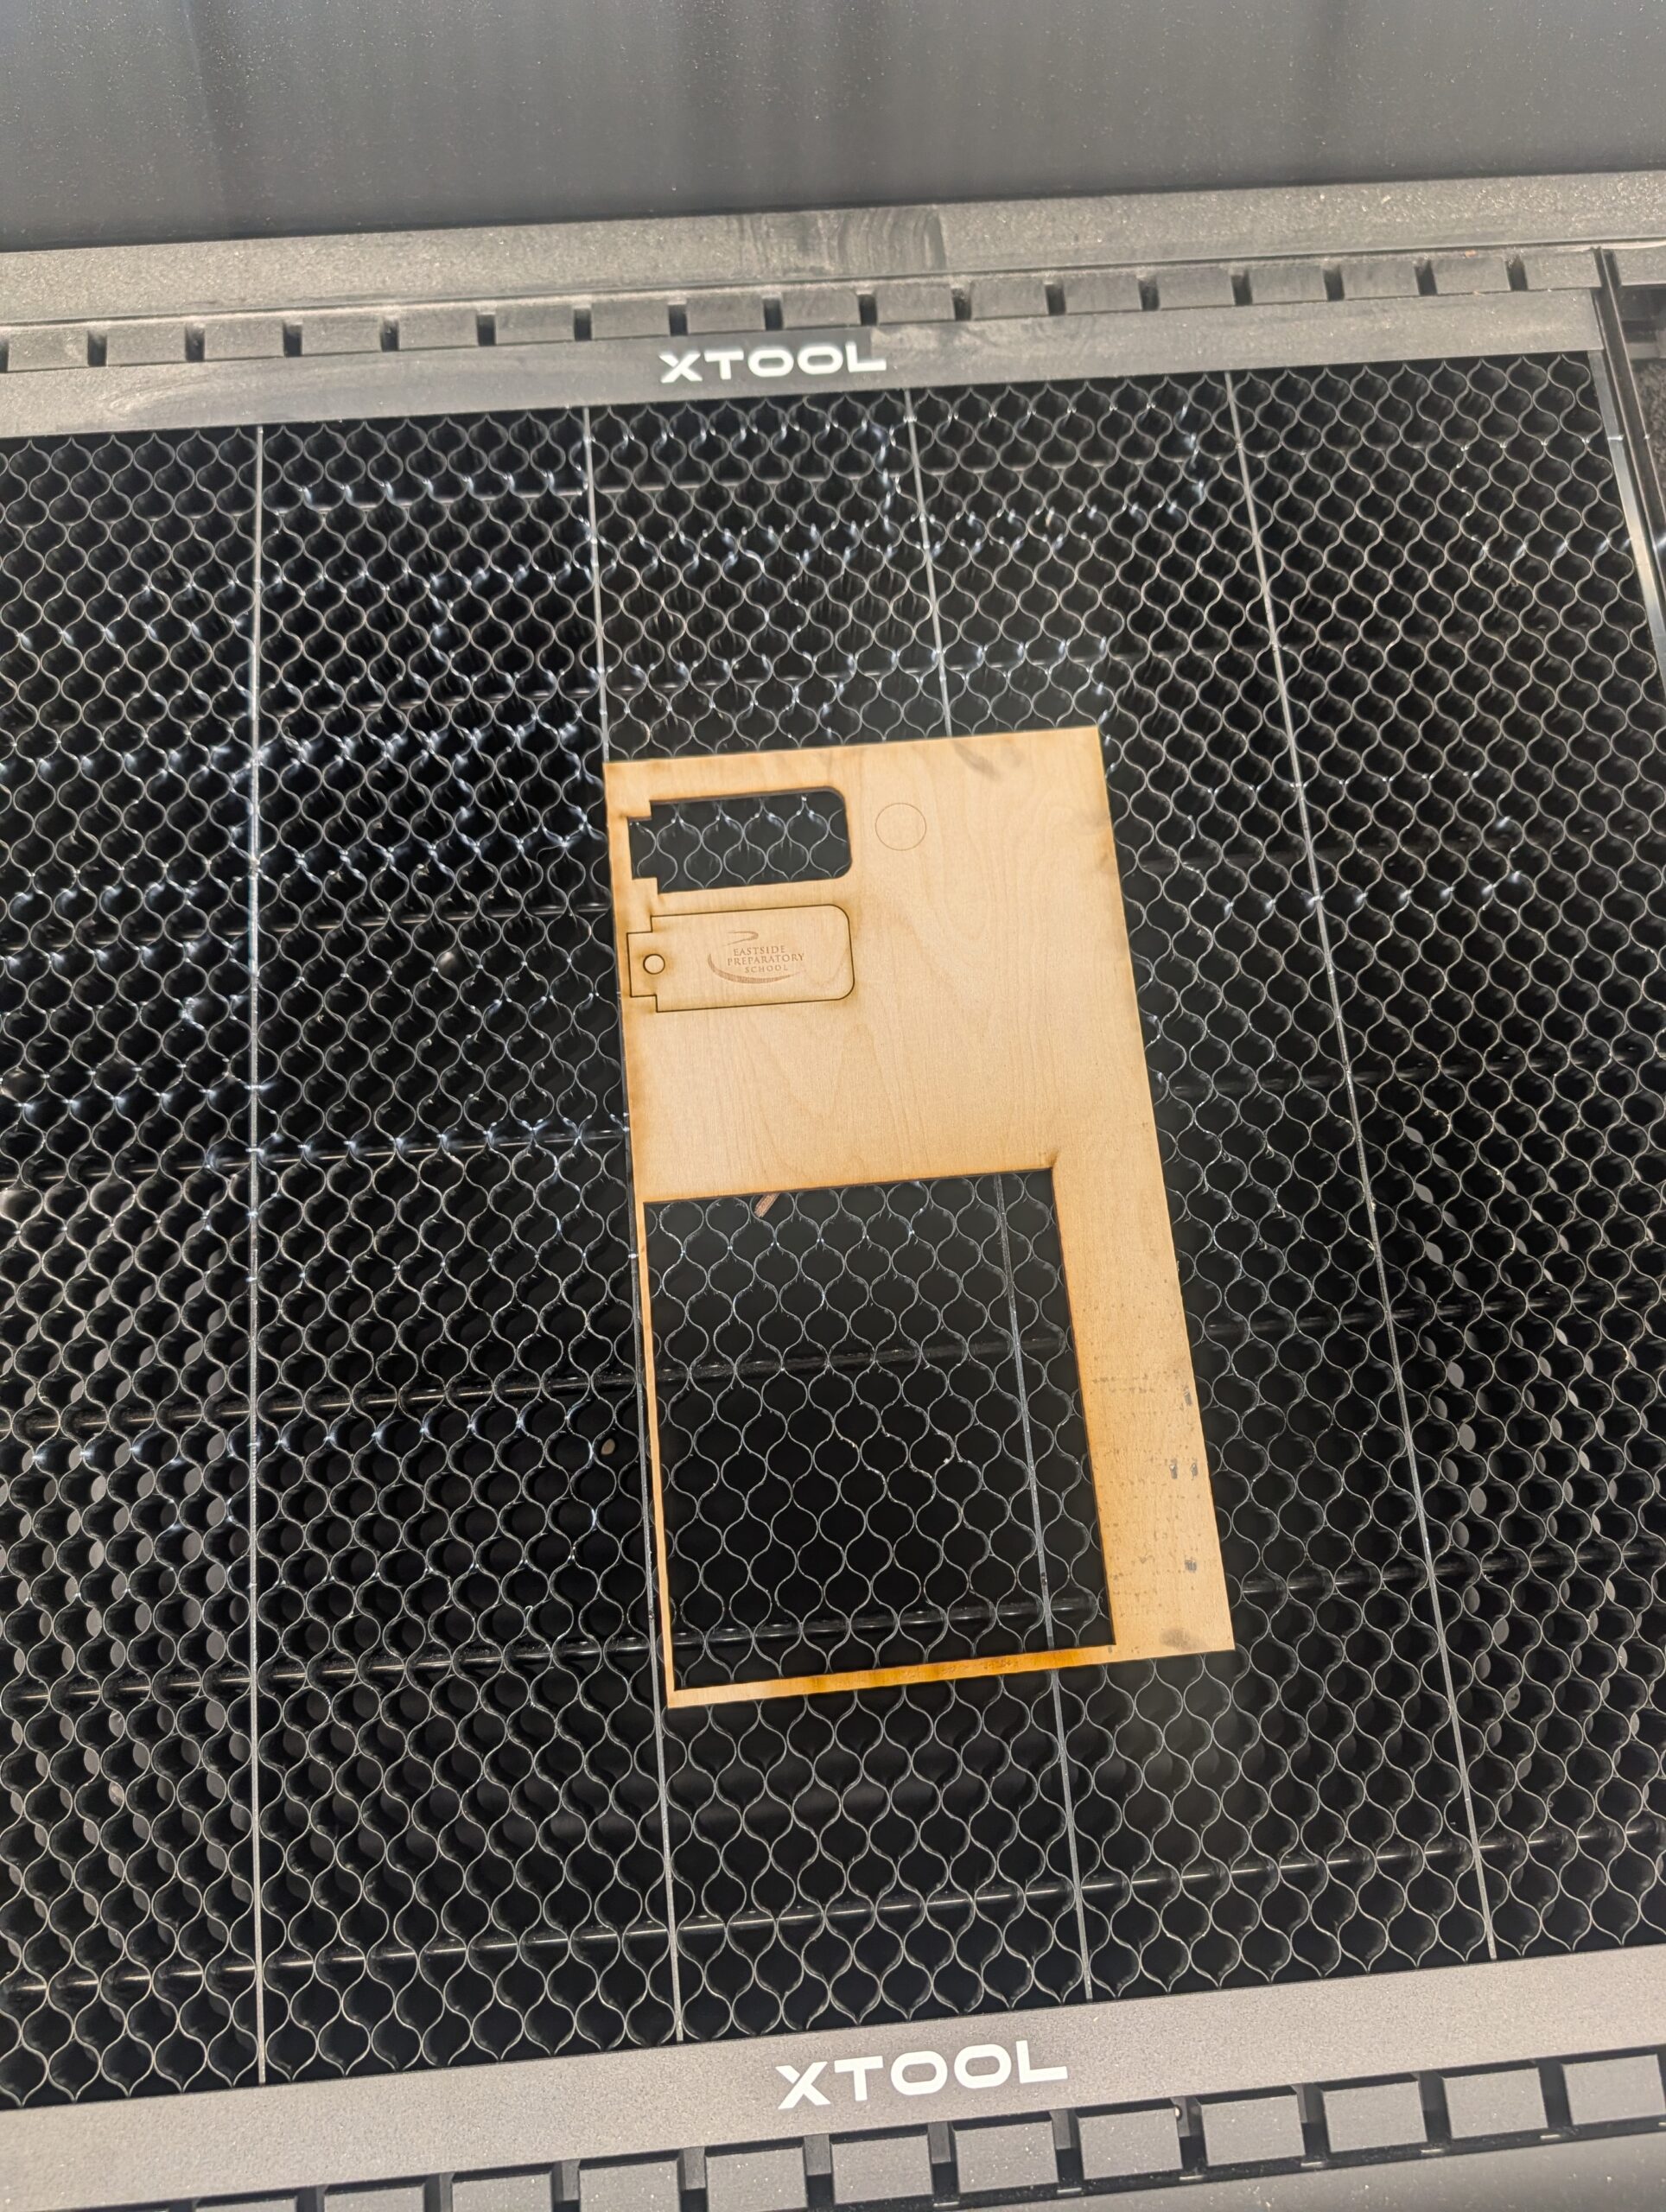
Once we have that done you will notice that our design has been split into two operations. The image of the Eastside Preparatory logo is set to engrave, and that is because the laser will engrave/raster the design on the top layer of the wood only charring it. On the other hand, the border of our keychain is set to cut because that will be the shape of the piece cut out.
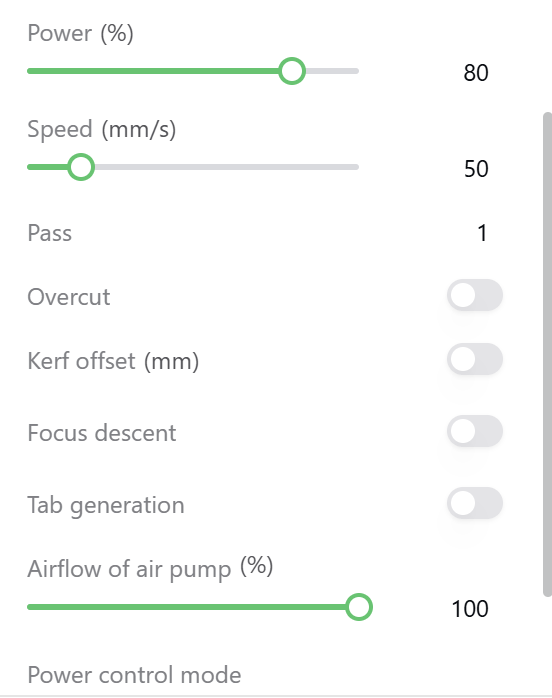
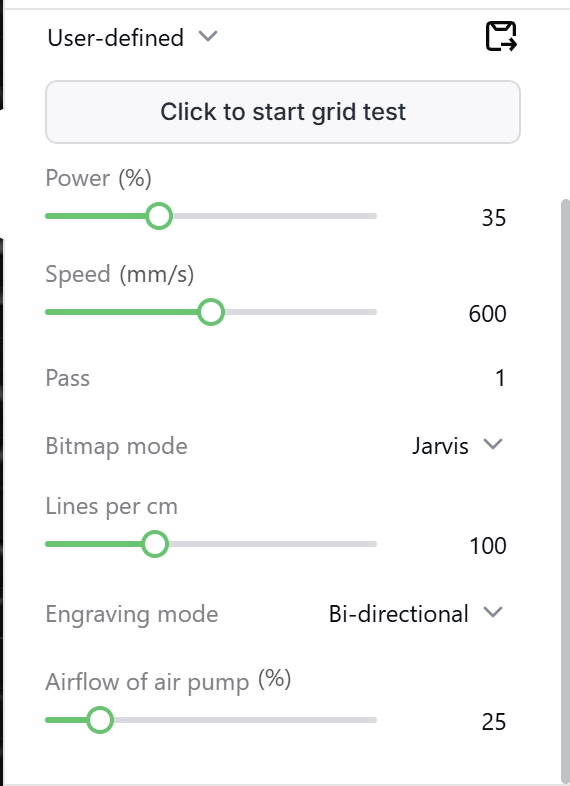
Next we will specify the settings for both engrave and cut as per the following table:
| Operation | Power | Speed | Passes |
|---|---|---|---|
| Cut (outline) | 80% | 50 mm/s | 1 |
| Engrave (logo) | 35% | 550 mm/s | 1 |
- Once done, click Process to preview the job and see the estimated time.
- Click Start in the software, then press the physical start button on the machine.
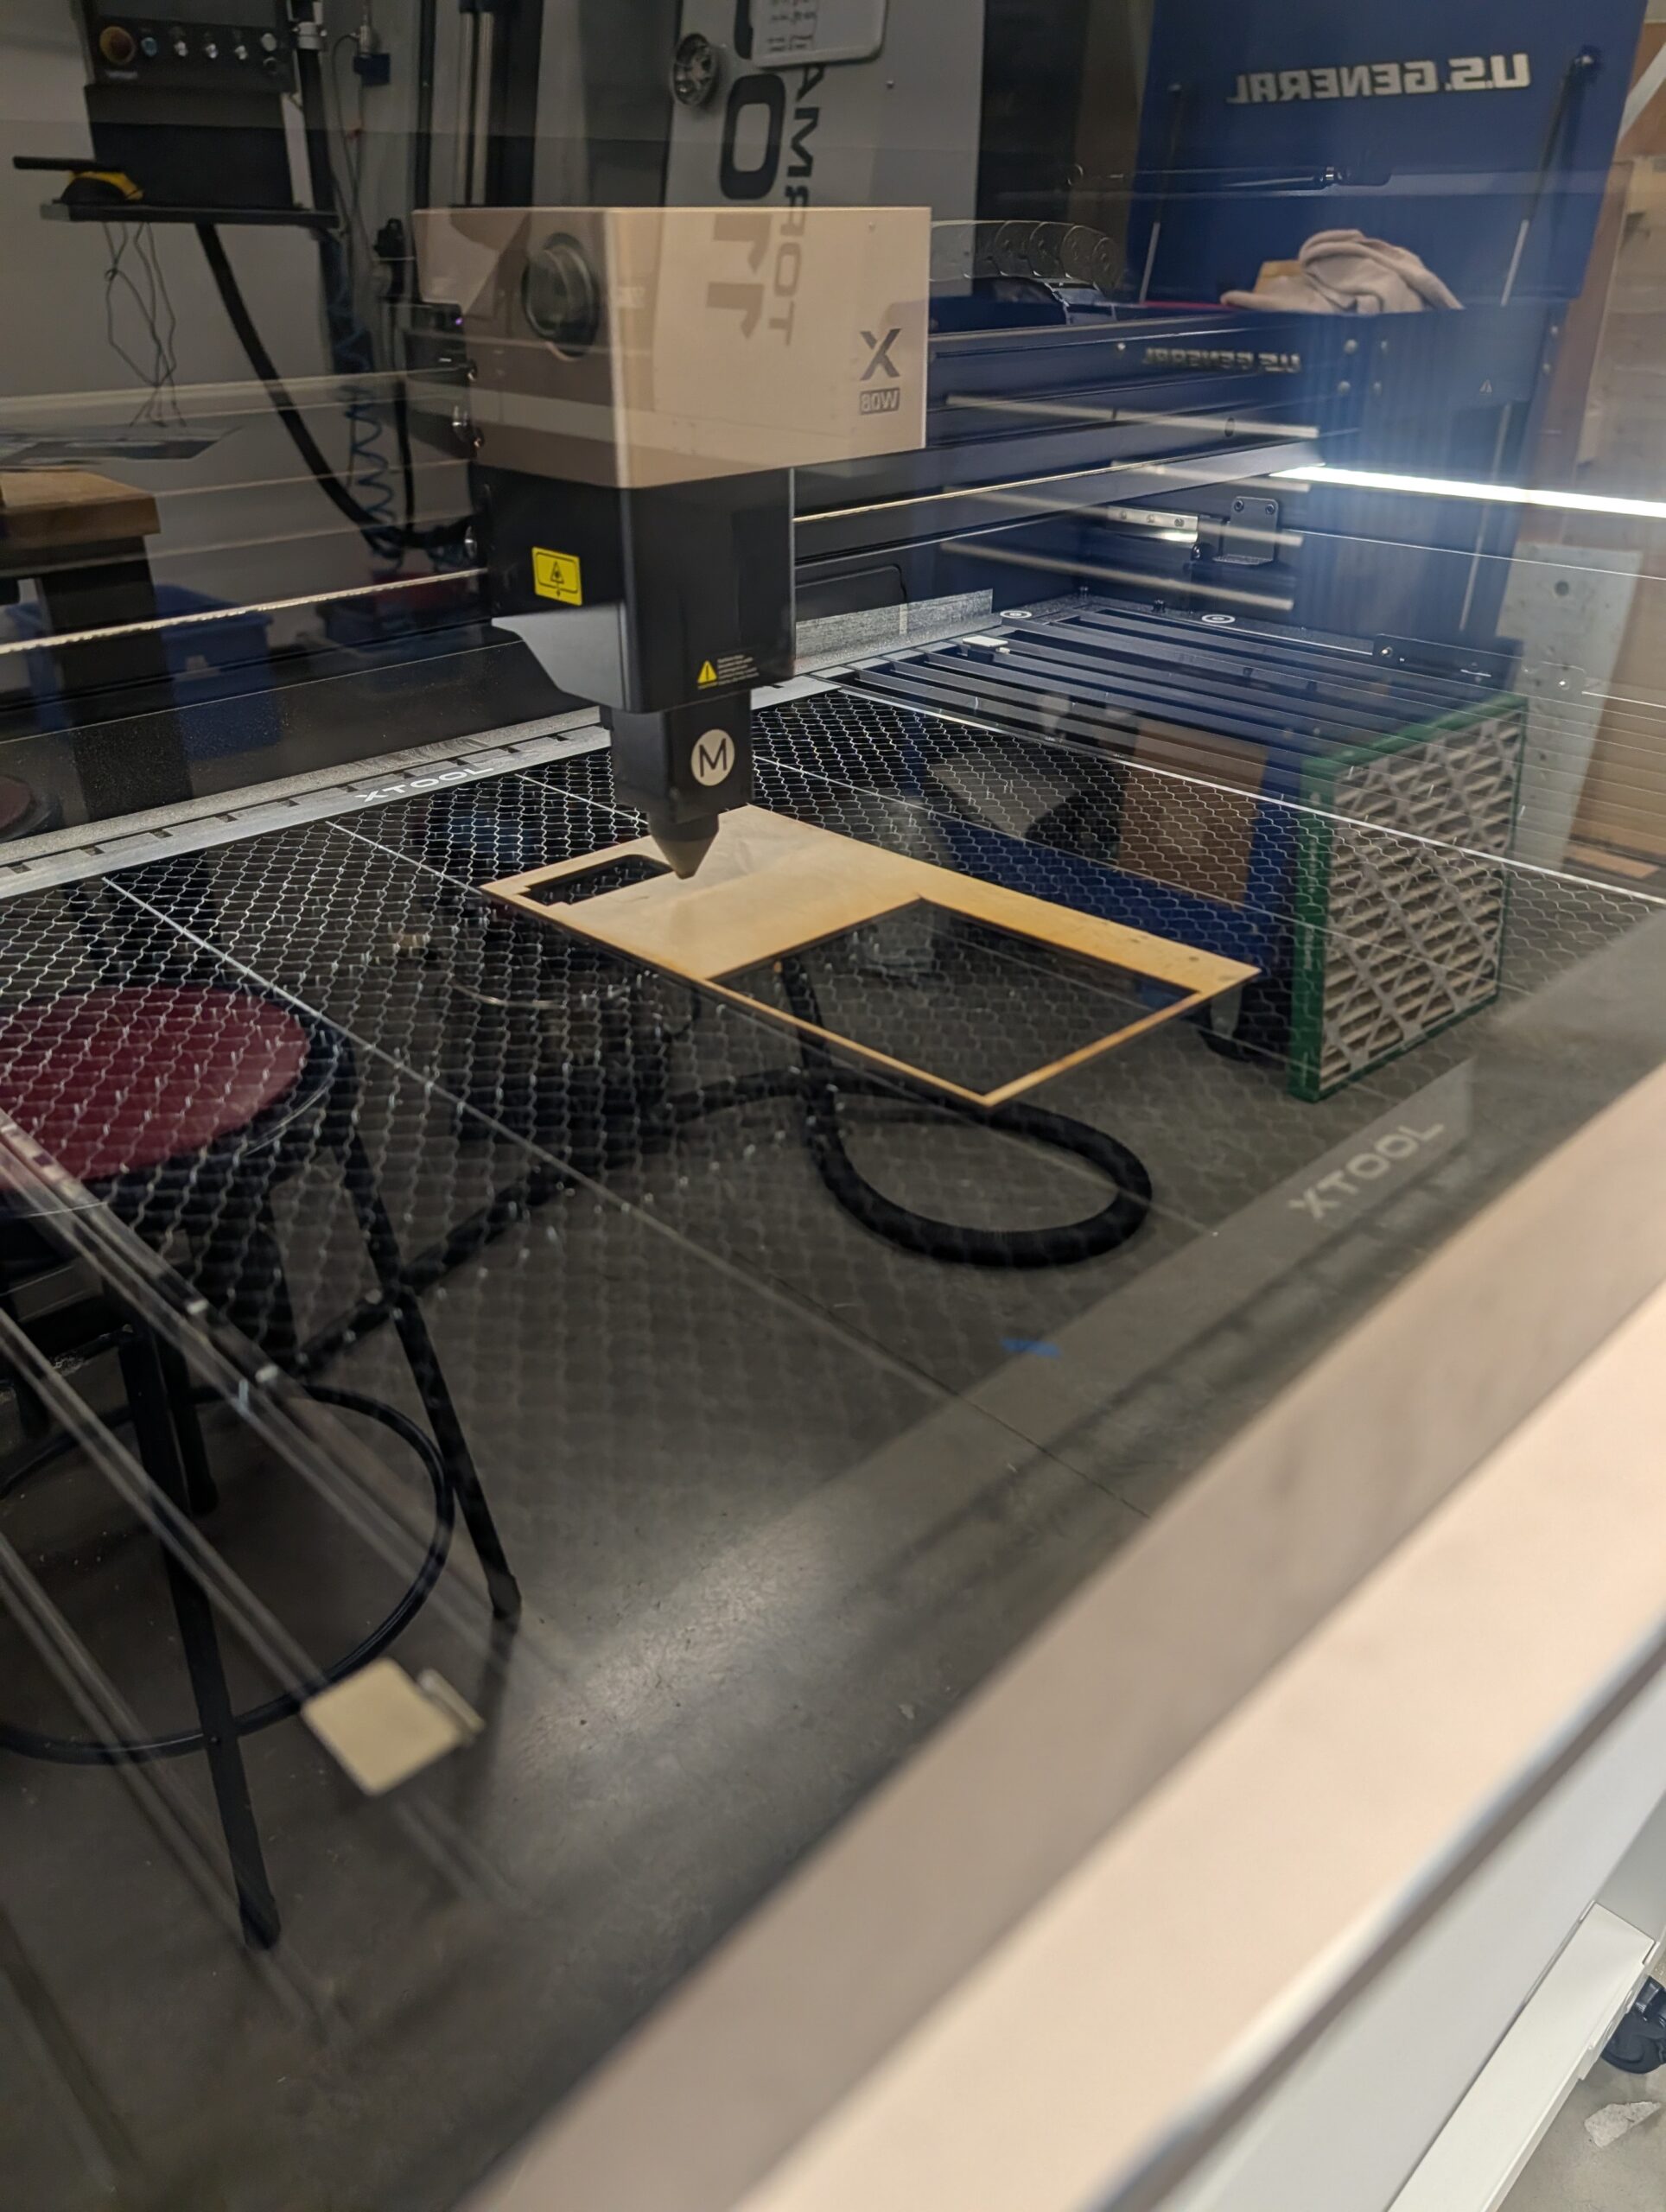
- Watch the entire cut
WAIT!
Don't open the lid just yet. Give it a good 20-30 seconds for the fumes to be extracted after the cut is done.
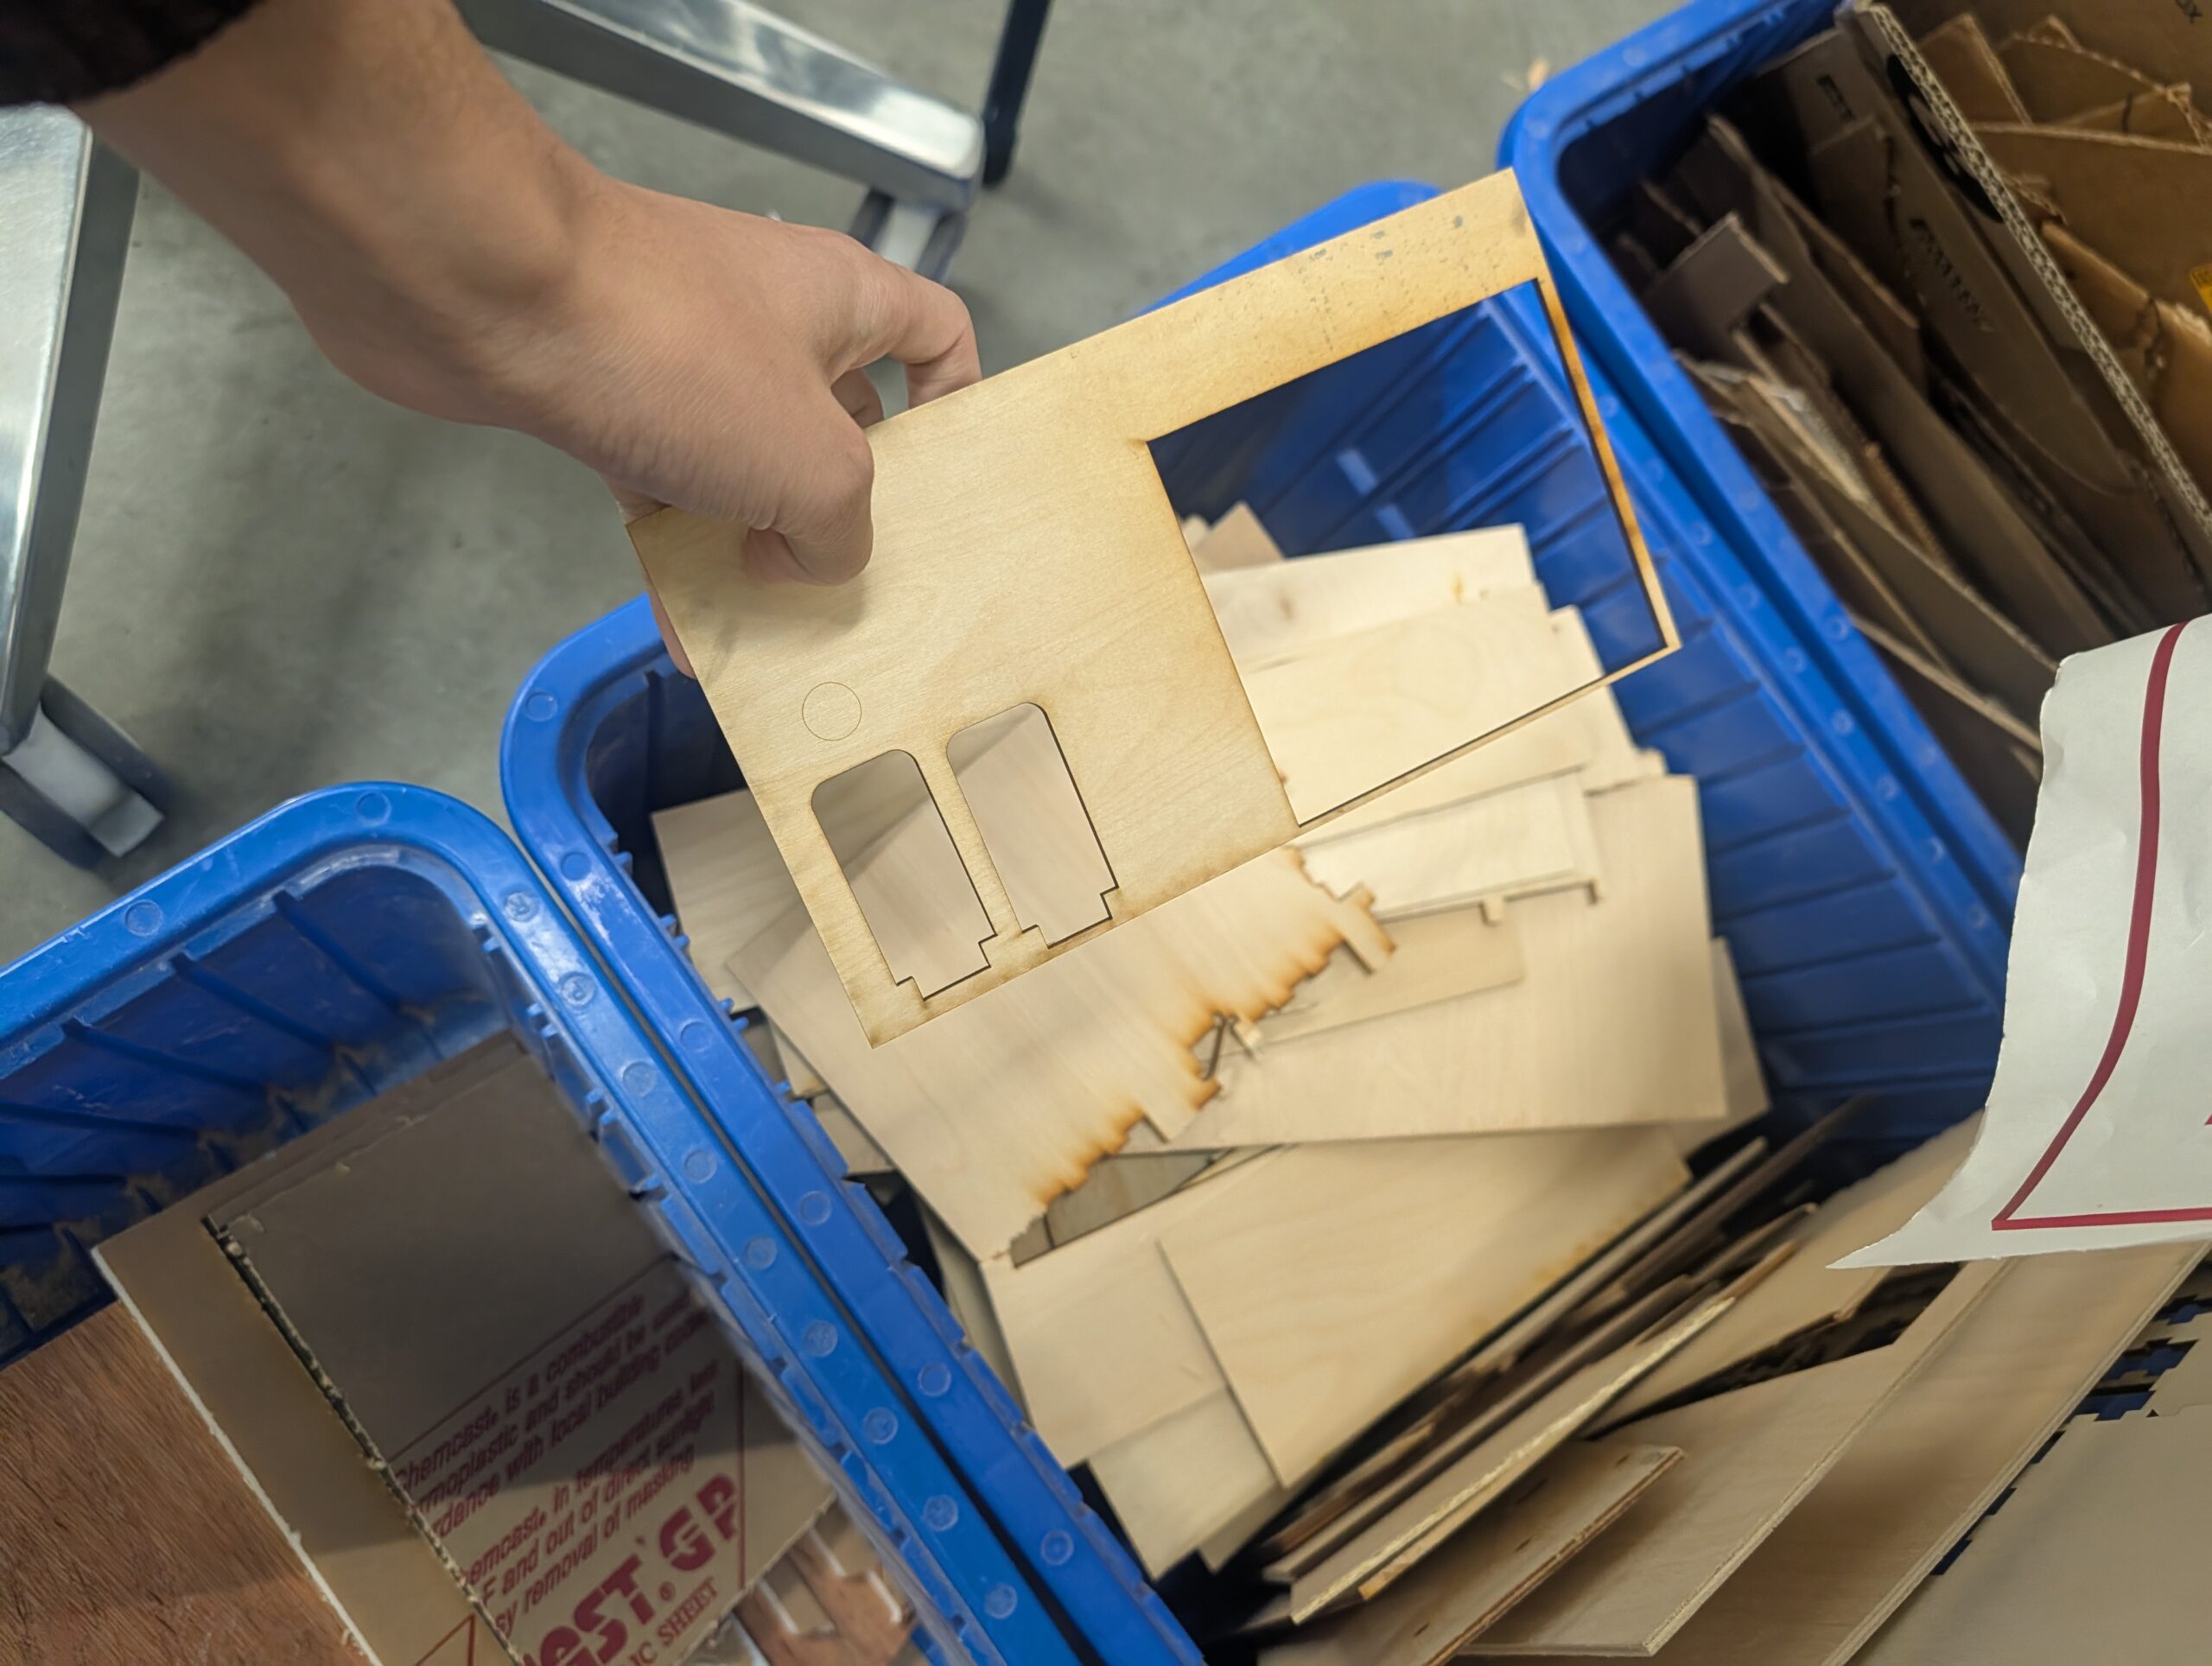
Then take out your piece, remove the extra material and scraps. If the scraps have reasonable space to be used again toss it in the CORRECT bin. If not throw it in the trash.
Finally, make sure to turn off the laser cutter, and the ventilation